
One of the keys to succeeding on Amazon using the wholesale model is knowing how to identify profitable products to sell.
If the Amazon wholesale business model is new to you, check out my in-depth guide on how to get started selling wholesale on Amazon using FBA.
Once you’ve learned this essential skillset, the first thing you should do is create a professional email address. I know it’s tempting to contact the supplier of that fast-selling and profitable product that you’ve found from your gmail or hotmail account. But don’t do it.
Invest in a custom email address at your company domain, then contact brand owners and wholesale suppliers. A professional email address will signal that you’re a serious business and help win the trust of the businesses you contact. And therefore increase your chances of landing accounts.
What do I mean by a professional email address?
A professional email address is one that includes your domain name, which is basically your business’s name. For example, david@londonfloralcompany.co.uk is considered to be a professional email address.
You probably have a free gmail, hotmail or yahoo account. Such an email account is good for personal use but not business. A professional email address will project an image of professionalism and trustworthiness when reaching out to suppliers.
You can create a professional email address without having to create a website first.
G Suite by Google
There are many ways to set up a professional email address but the easiest and quickest way is through Google’s G Suite or any other hosted email services like Office 365

During the signup, which is simple and self explanatory, you will need your domain name. If you don’t have a domain for your business yet, don’t worry. During the signup process you will be given the option to create one for your business for a small additional fee.
I personally think G Suite is great. It’s an all-in-one cloud-based software that not only gives you a professional email address but also cloud storage, file sharing, video meetings and more.
The best part? It’s affordable. It costs £4.14 per user per user (you@yourcompany) per month and aliases such as customerservice@yourcompany are included for free.
I’ve been using G Suite and Gmail for almost three years for business and, as you would expect from a company of Google’s stature, I haven’t had many problems. So it’s not only affordable but it’s also reliable.
Email addresses to set up
Once signed up, I would suggest creating a few types of email addresses. Even if you’re a one-man band, adopt the formats I recommend and then you can allocate these roles to outsourcers later when you grow.
You can create these emails addresses as aliases for free. I show you how later.
Personal and function-based email accounts
Every person in your company should have a professional personal email address, which should be used for internal and external communications. For personal email addresses, I use this format:
- firstname.surname@companyname
A function-based email address, as the name suggests, is an email address for a department of your company, like Accounts, for example. Here’s an email I have for a branch of Accounts, Accounts Payable:
- companynameAPaccounts@companyname
Tip: You can use the initials if your company’s name is too long, lfcAPaccounts@londonfloralcompany, for example.
You should direct all invoices from suppliers to this email address. This will not only make you come across as an established and organised company but will also help when it comes to doing your tax returns.
Generic email addresses
If you have experience selling on Amazon, you will know that Amazon sends out a lot of emails. Mostly automatic notifications, sales emails and newsletters. Here’s the full list of the types of emails:
- Order Notifications
- Return and Claim Notifications
- Listing Notifications
- Reports
- Amazon Selling Coach Notifications
- Account Notifications
- Emergency Notifications
- Amazon Business Notifications
- Amazon Lending Notifications
- Pricing and offer Notifications
That’s a lot of categories. So the number of emails you receive daily can be overwhelming.
The good news, however, is that we can choose which notifications to receive as well as their destinations. You can do this by going to ‘Settings’ and the ‘Notification Preferences’ in your Seller Central account.
If that doesn’t work, you can set up an automatic redirect of these emails from your main email address to the appropriate destination.
Although not essential, here are the few generic emails I have to stay organised and on top of important emails.
- customerservice@companyname orders, returns and customer messages. Basically anything that’s related to customer service.
- accounthealth@companyname for account health related emails like emails from Seller Performance department or customer claims.
- general@companyname for everything else like sales notifications and newsletter.
Email aliases
I only have two email addresses in my G Suite account, so I only pay 2 x £4.14 per month.
The other email addresses I have are set up as aliases, which basically are forwarding emails. Mail sent to an alias will appear in your inbox. You can also send emails from an alias email address. You can add up to 30 aliases for any G suite user, making it a great hack.
To keep mails separate, for each alias I created a separate folder to which its mails are directed and stored. Let’s look at how to create an email alias in Gmail.
How to create an email alias in Gmail?
To add an alias for a user:
- Go to your Admin Console (admin.google.com).
- Click on Users.
- Find the user and click on the user.
- Select User information then Email Aliases.
- Then enter an alternate name (the name before @) and save.
Once you’ve created an alias, create a folder for it. You can do this by clicking Create a new label on the left hand side in Gmail.
How to automatically move/direct emails to folder in gmail
Now all you have to do is set up an automatic redirection of all the emails relevant to the alias you’ve created.
- In Gmail, check mark the email you want to move.
- Hover over and click More (the three vertical dots).
- Clear From email address
- In To area, enter your alias
- Click Filter messages like these
- Then Create filter.
- Check Skip the Inbox (Archive it).
- Check Apply the label and select the folder from the dropdown.
- Finally select Create filter.
For more guidance on how aliases work and how to send an email from an alias email address check out Google Support. Working with aliases can get a bit technical which is why I created email different email addresses instead.
How to manage multiple email accounts
As you’ve probably noticed, I manage a few email accounts. These include my personal email, my professional personal email, the accounts payable one, and the email account for this blog.
Since I don’t want to be logging in and out of accounts all the time, I was wondering if there was an application that could show me all of my email accounts in one place.
After a quick Google search I found an app called tryshift.

Shift is a great little app. I’ve just started using it and I like it so far. I hope it will help me be more organised and save me time clicking around.
With the Shift app you can manage your email accounts across Gmail, Outlook and Office 365 and all social media accounts in one place. It also works great for managing apps, calendars and extensions.
I have a shift pro account but they have a free plan which allows you to manage two email accounts, which is fair I think.
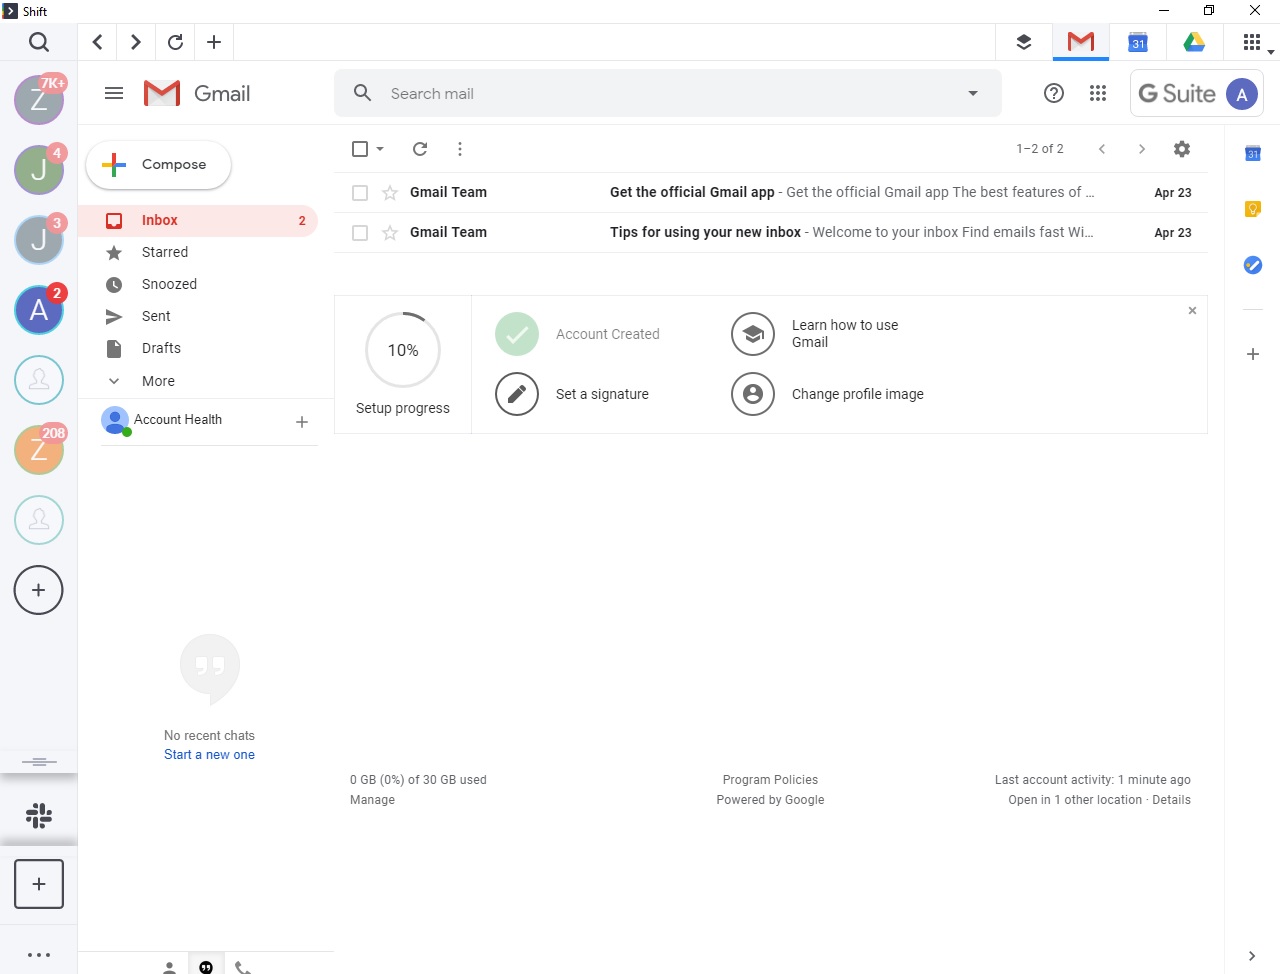
Here’s my Shift dashboard:
Do you have any productivity tips? Let me know in the comments section, I’m always looking for ways to save time and energy!