I remember sending in my first shipment of books to Amazon FBA. It was exciting at first but soon became really frustrating. In fact, it took me the whole day to prepare just that one shipment. Mainly because I listed these books using the Seller App on my phone.
Listing this way is painfully slow. You have to open your phone’s camera, align and focus it until it finally scans. Then you actually list, during which you have to describe the condition of the book, for every book.
The other problem was that I couldn’t find a comprehensive tutorial on how to ship products to Amazon FBA, which only prolonged the process because I had to figure things out through trial and error.
So in this post, I would like to make this right. I would like to outline all the steps involved in shipping inventory to Amazon FBA in a linear fashion, from start to end, and in as much detail as possible. And, of course, provide you with all the tools and resources I use now.
If you are new to FBA bookselling and are planning to send in your first shipment, then read on.
Background information
Preparing books for Amazon FBA is an important part of Amazon FBA Bookselling and can be broken down into:
- Listing. We need to upload the books we source to our inventory on our Amazon account.
- Creating a shipment. The inventory in our Amazon account includes all the items we’ve ever uploaded. Therefore we need to create a shipment of the items we want to send to Amazon FBA.
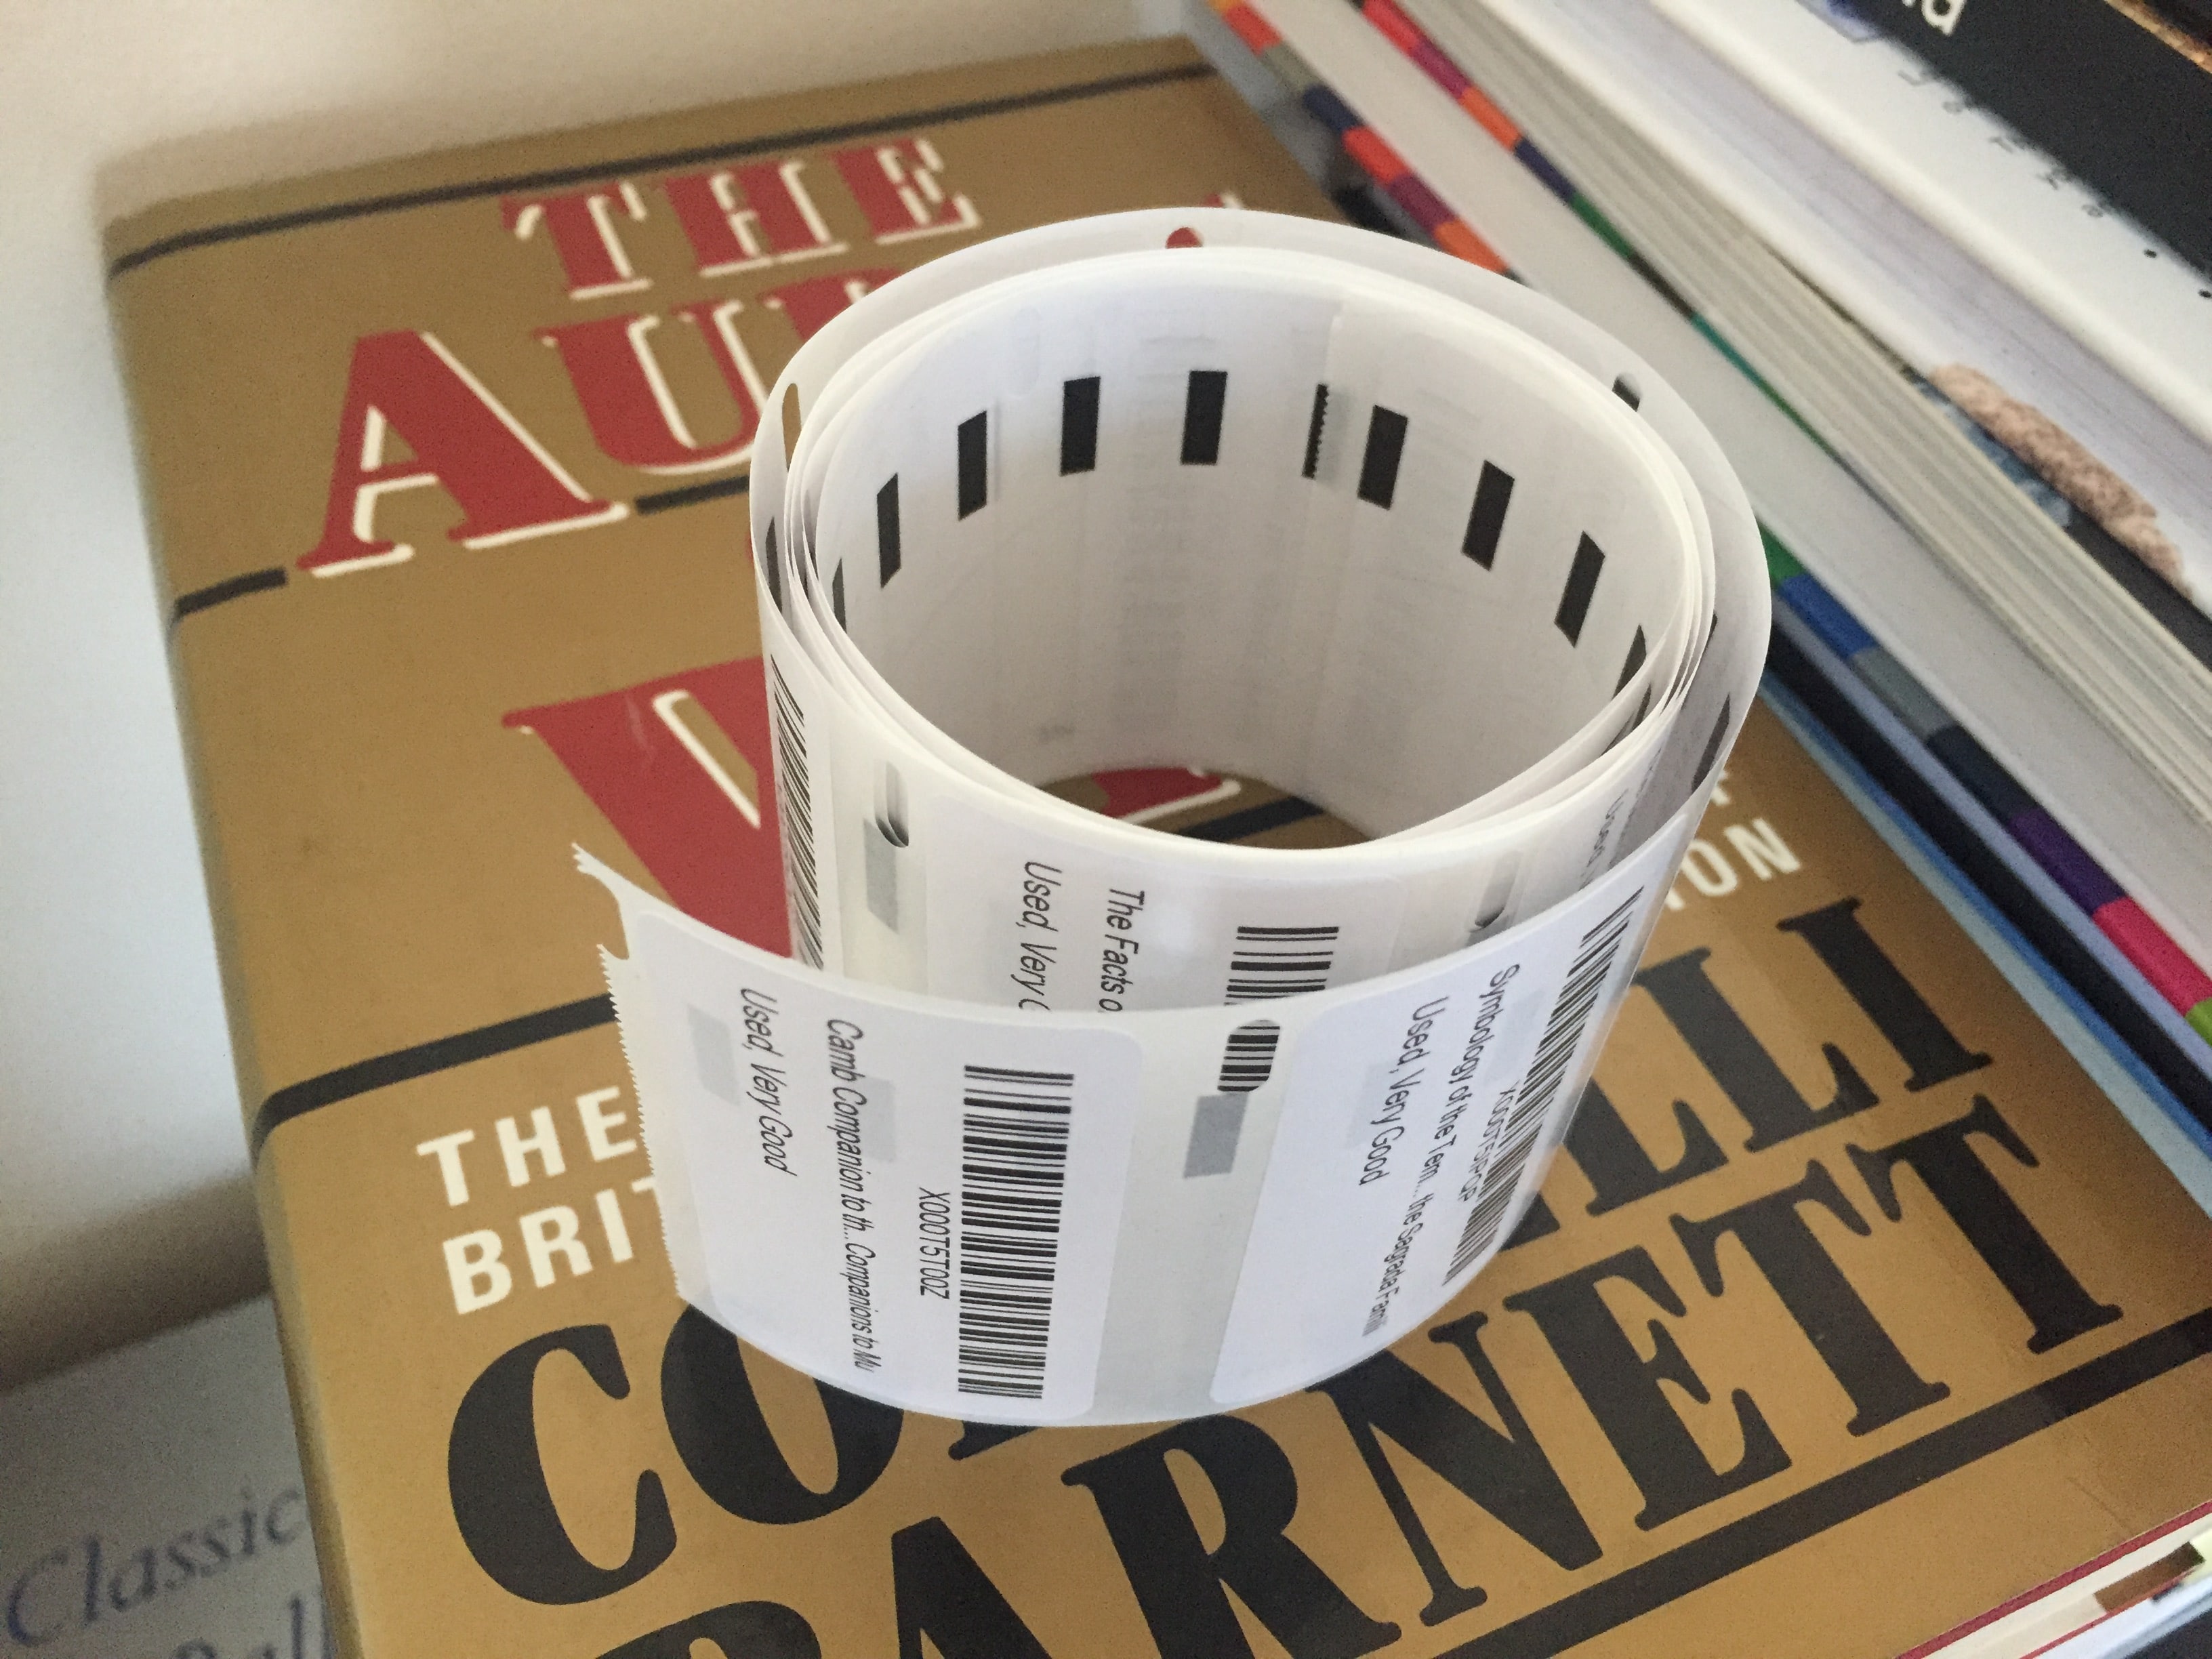
- Labelling. In order to keep track of our inventory, Amazon assigns every product we list a unique barcode. So we need to label every book with its unique barcode label.
- Packaging. Finally, we package these items, ready for shipping to Amazon.
OK, let’s get started…
Setting up
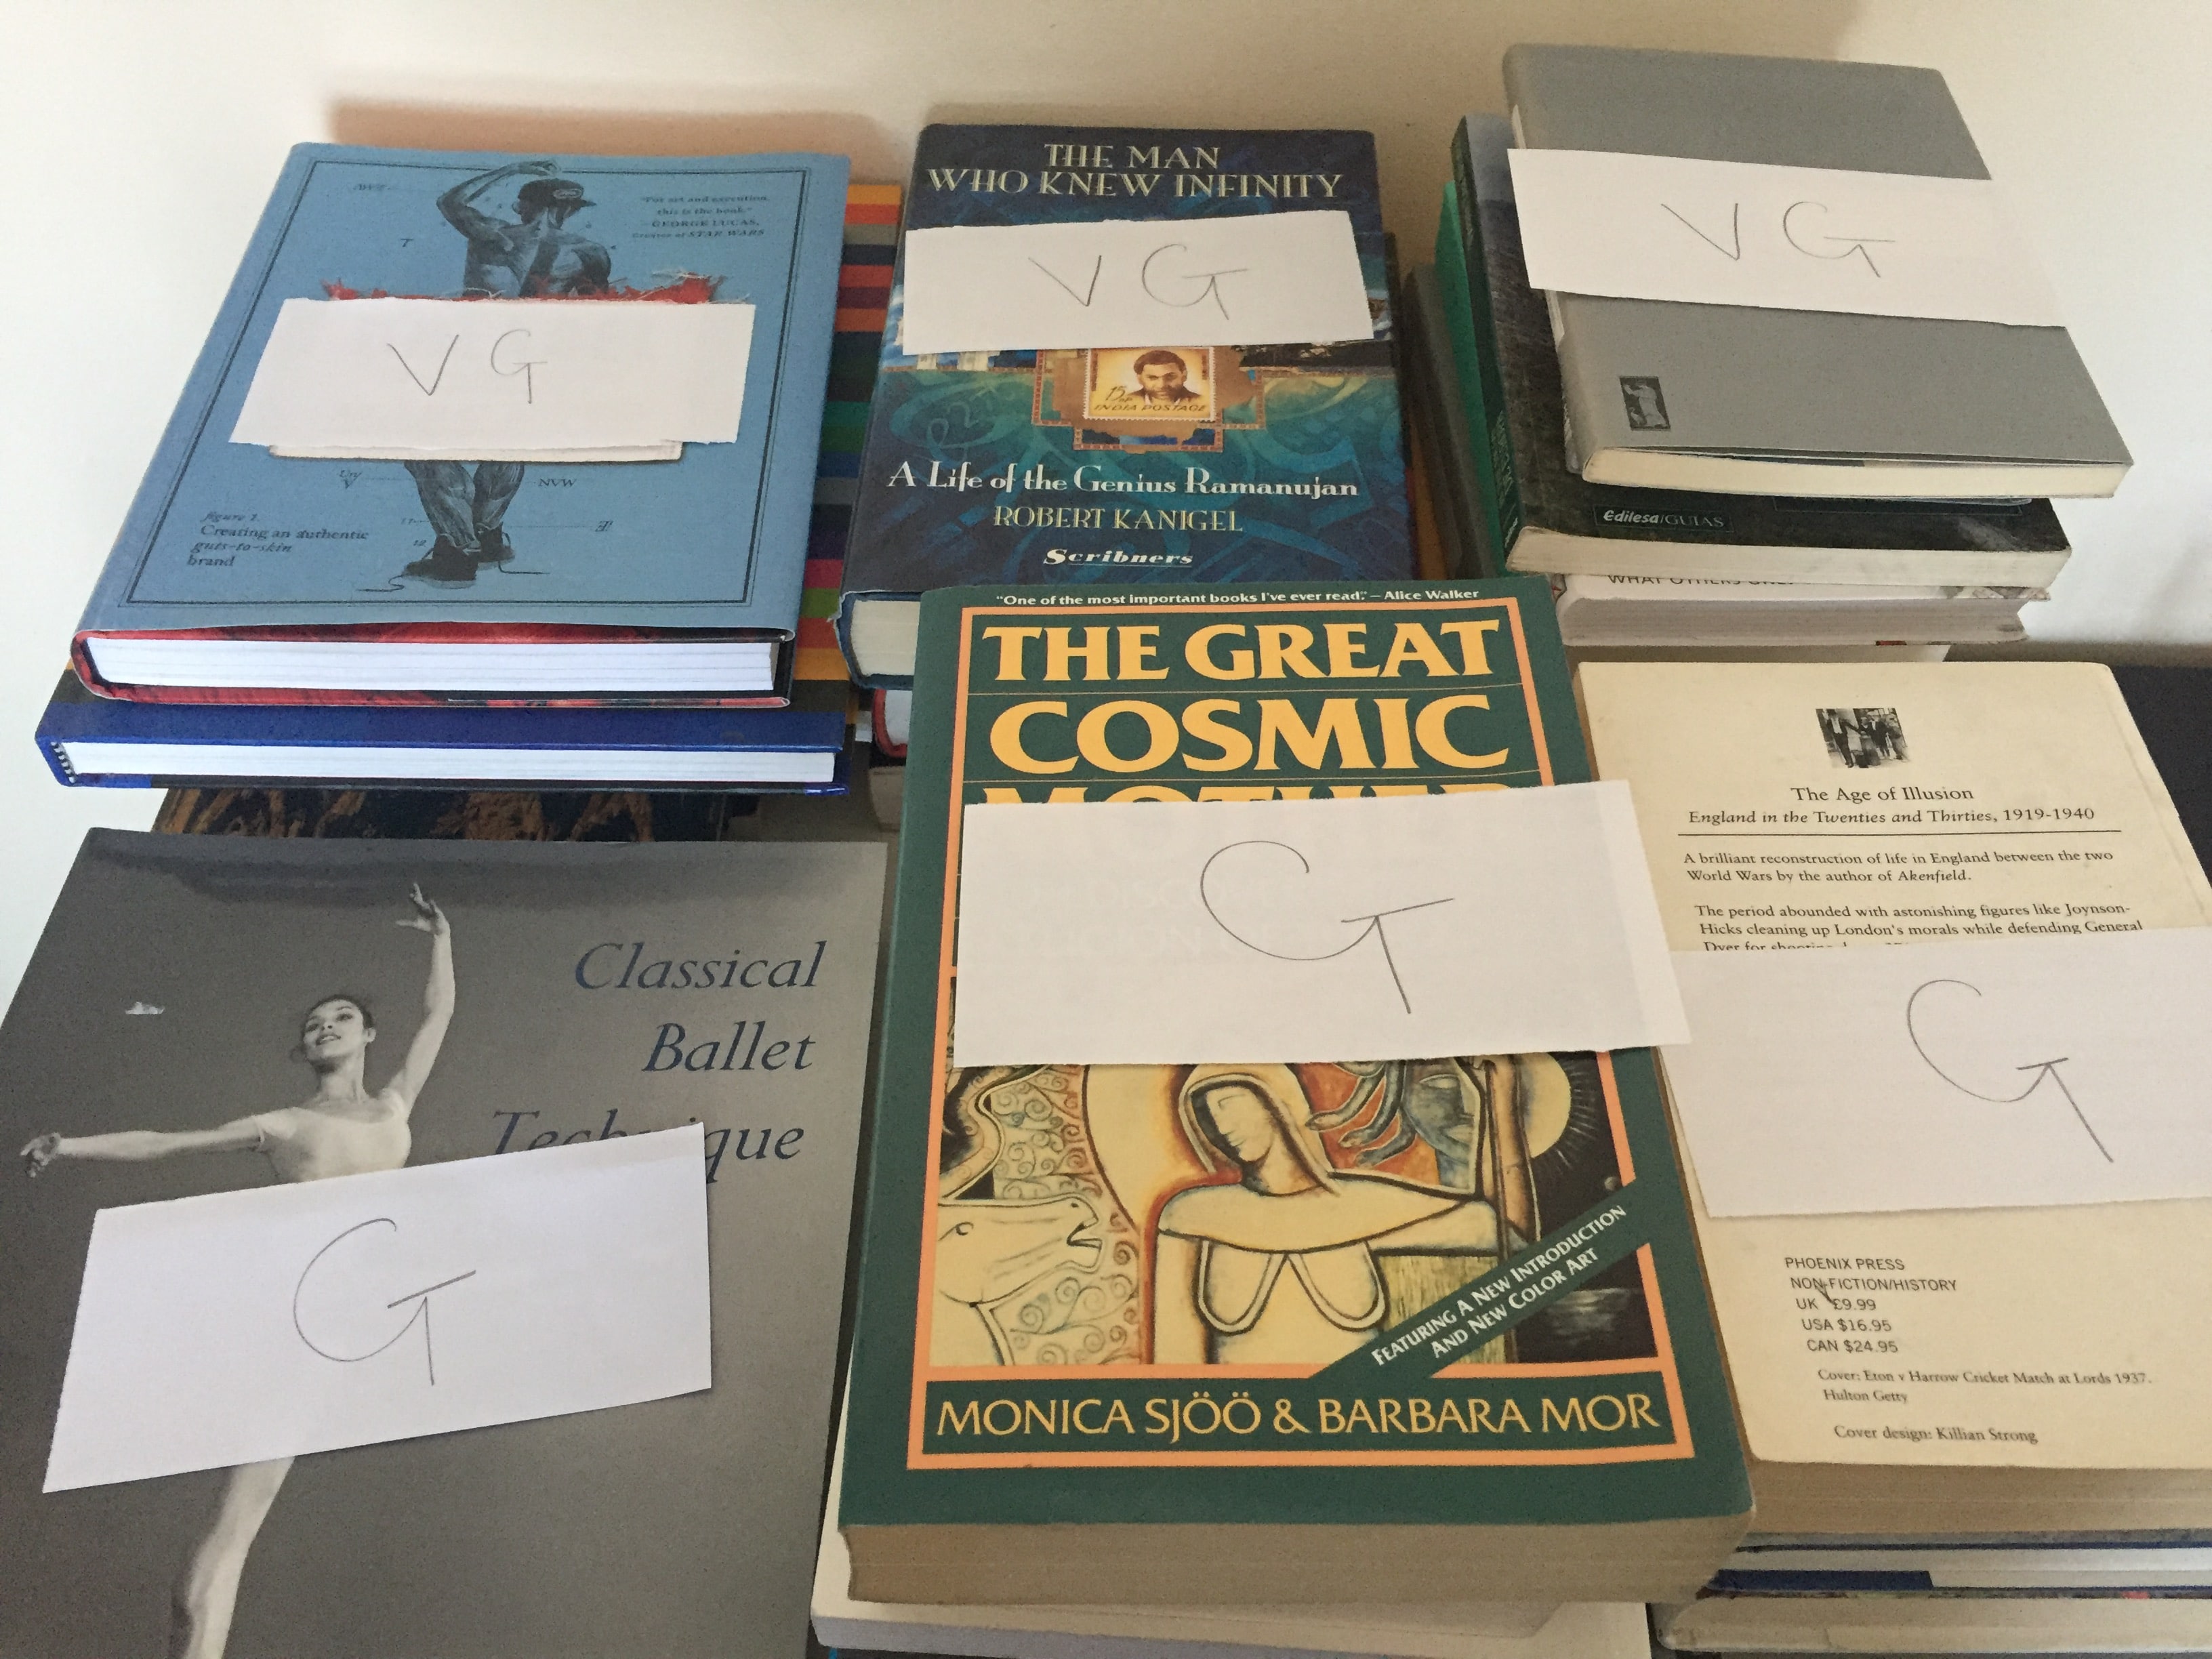
Before you start listing, make sure to sort your books into condition categories using Amazon’s Condition Guidelines. Read and understand the guidelines set by Amazon and create your own general condition note for each condition category: Like New, Very Good, Good, and Acceptable.
This is crucial. Do this first so that you won’t have to describe the condition of every book individually.
Before you start listing, there are a few settings you need to adjust.
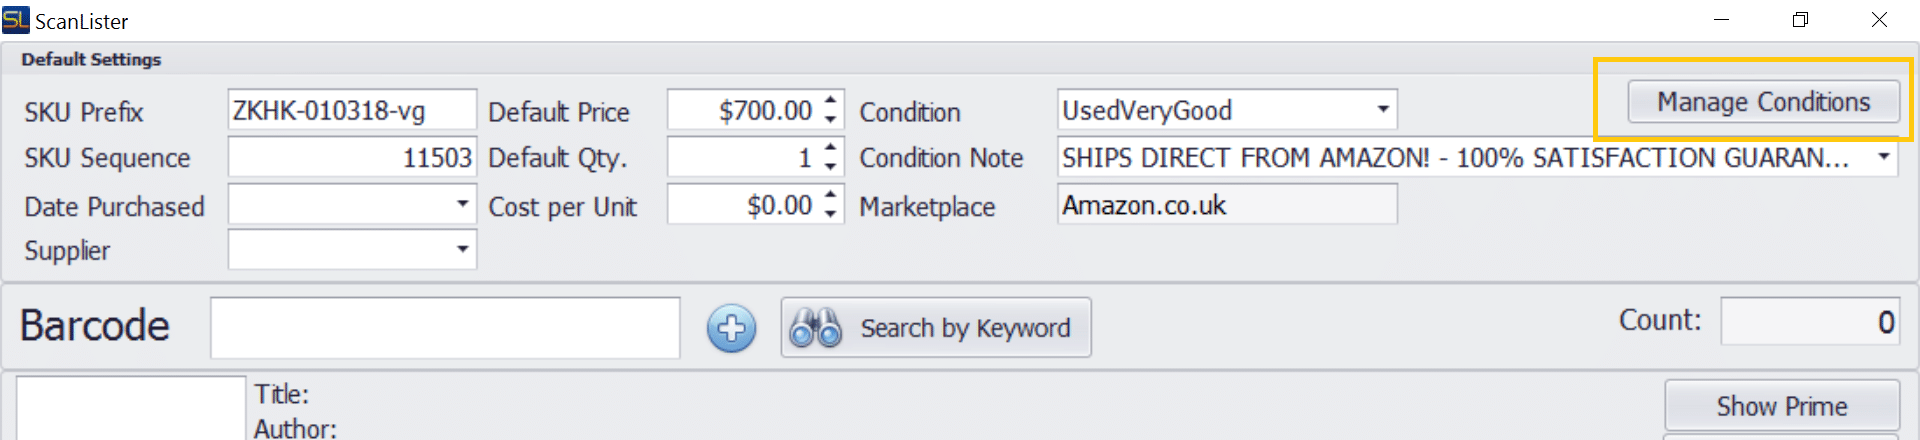
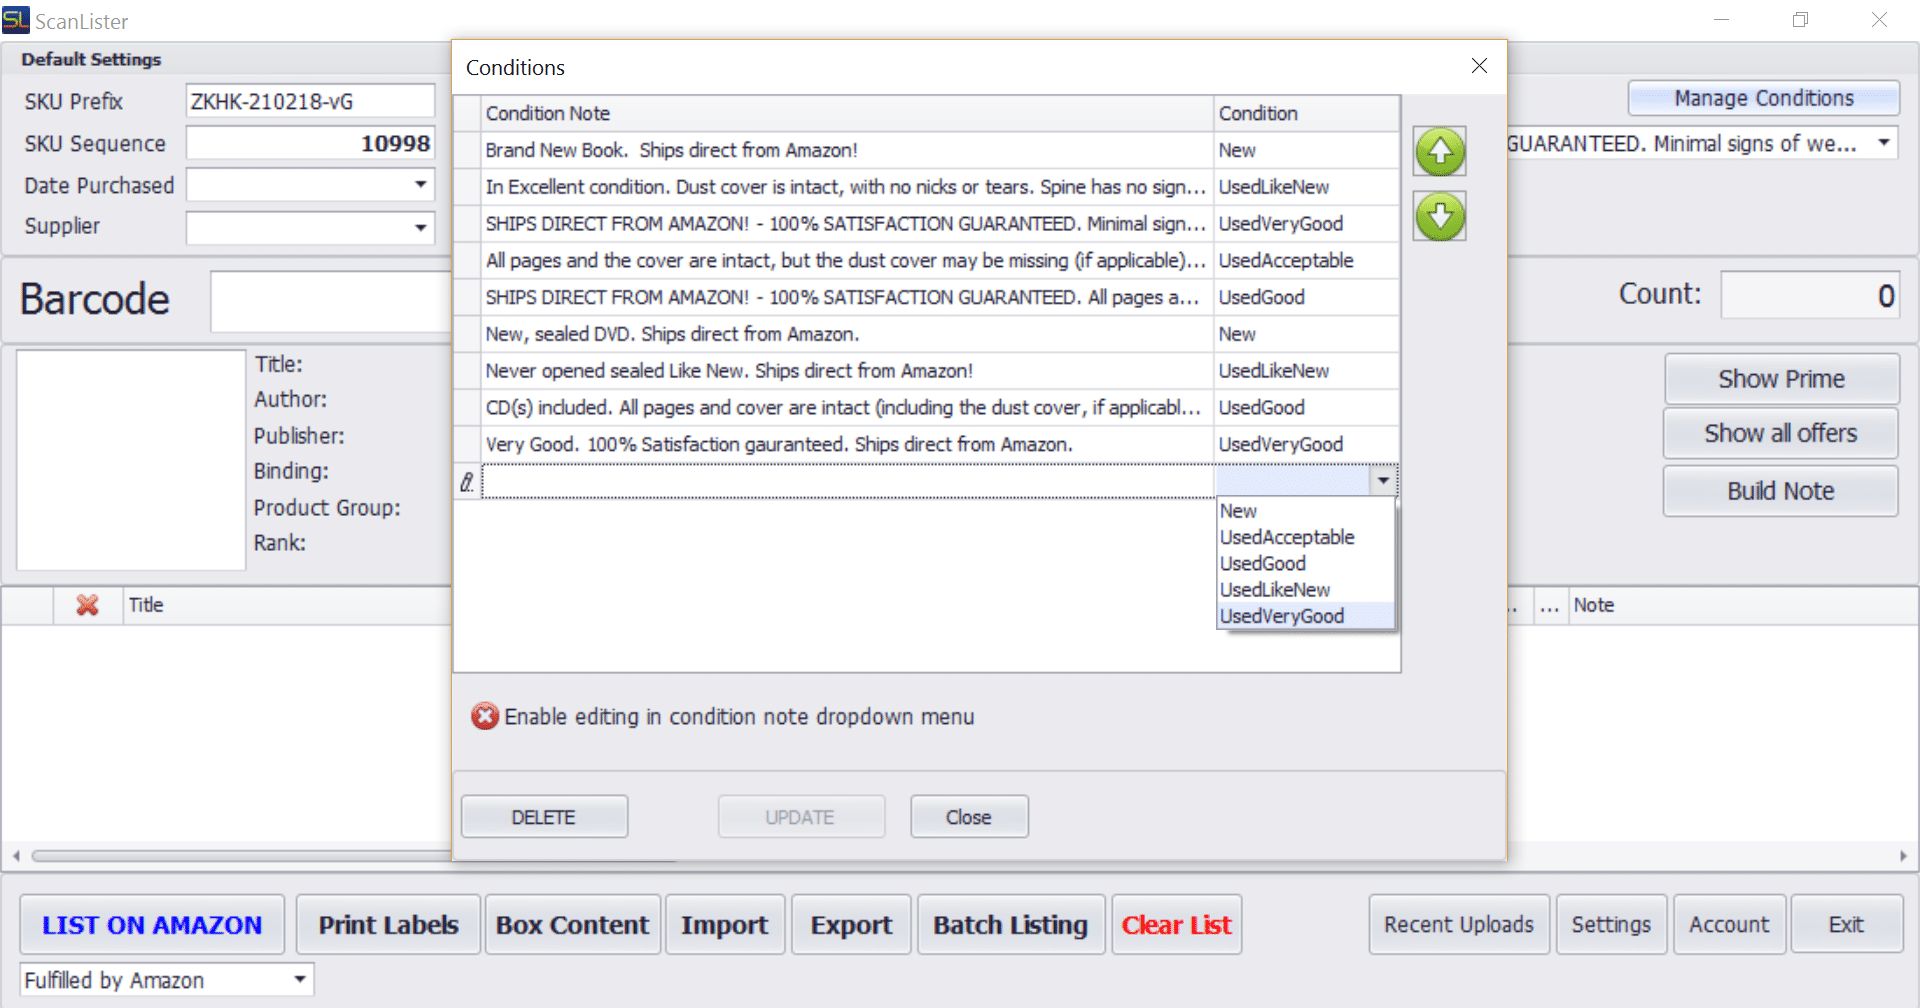
So first, open ScanLister and click the “Manage Conditions” button.
From there, select a condition category in a new row and in the “Condition” column. And enter its corresponding condition note to its left in the “Condition Note” column.
Do this for the condition categories and click “UPDATE” to save them. You can also edit existing built-in condition categories in ScanLister.
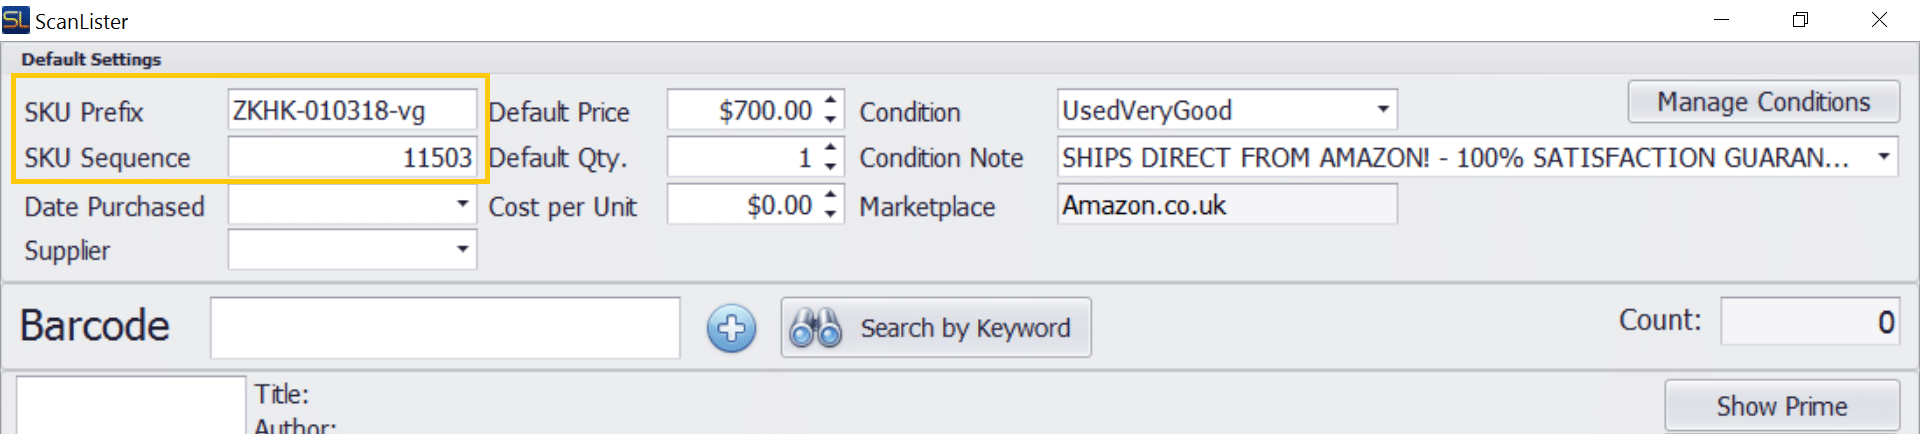
Another important aspect is the Stock Keeping Unit (SKU) code, a code you set to track your inventory. This will help you when you do inventory analysis in the future.
I use the following SKU anatomy: [SKU Prefix-SKU Sequence-SALESRANK]. In my SKU Prefix, I like to include my initials, date, and location, and condition of the book.
When I first started using ScanLister, labelling took a lot of my time because I didn’t know that Amazon sorts SKUs in an alpha-numerical fashion in a shipment. So it took me a long time labelling as the labels printed in a random order.
To print your labels in the order that you listed, make sure that the “Sequence” is near the beginning of the anatomy of your SKU. Also, set an appropriate minimum and maximum price.
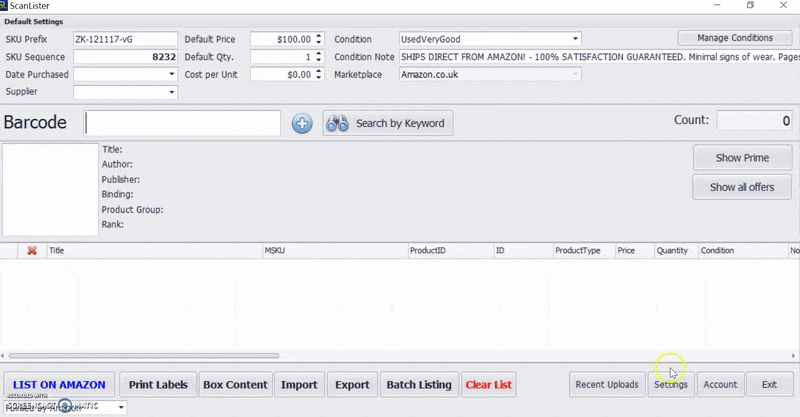
The SKU Sequence is the only part of the SKU changes. It increases by one every time a new item is scanned.
Listing
Once you have completed the above steps, the rest is simple. Just set your “SKU Prefix” and select a condition and a condition note.
Then scan the ISBN barcode of the books you want to list in the barcode field using a barcode scanner.

As you can see from the above clip, I scanned 28 books.
Once you scan all the books you plan on sending to Amazon, click “LIST ON AMAZON” to upload them to your Amazon account.
Creating a shipment
After about five minutes you can login into Seller Central and create a shipment.
On Seller Central, hover on “Inventory” and select “Manage Inventory” from the drop-down menu.

Next, click “Search date from” in the “Additional filters” drop-down menu.

Then, select the date on which you listed your books on Amazon.

This will show all the books listed on Amazon on that date. I only listed the books that I was planning on to send to Amazon FBA.
Now, make sure that these are the books you want to send to Amazon FBA. Then check the radio button next to “Status” and click “Action on xx selected.”

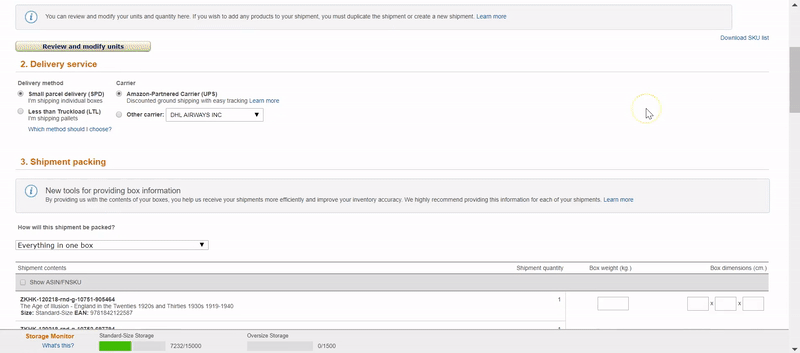
Continuing will take us to the “Send/Replenish Inventory.”
From there, check the “Create a new shipping plan” radio button and “Individual products” radio button for item package type. Then click “Continue to shipping plan.”

Now enter the quantity of each book you plan to send to Amazon under “Unit” column.

Then in the “Prepare Products” section select whether you want to label your inventory or if you want Amazon to it for you.
I would advise labelling yourself because it falls a lot cheaper.

After continuing, scroll down to the bottom of the “Label Products” section and click “Print labels for this page” to download the labels. Then save it.

Labelling
Back to Scanlister.
Select the “Print Labels” button.

Then upload your labels and print your labels with a click of a button.
Note: Make sure your Dymo label printer is installed and connected to your computer.

All you have to do now is label — make sure to cover the ISBN barcodes.
Packaging
This is the easiest part of shipping books to Amazon FBA.
But don’t get complacent because we need to package our books in a way that minimises the chances of them getting damaged. Especially as our packages will be handled by many hands on its way to Amazon FBA.
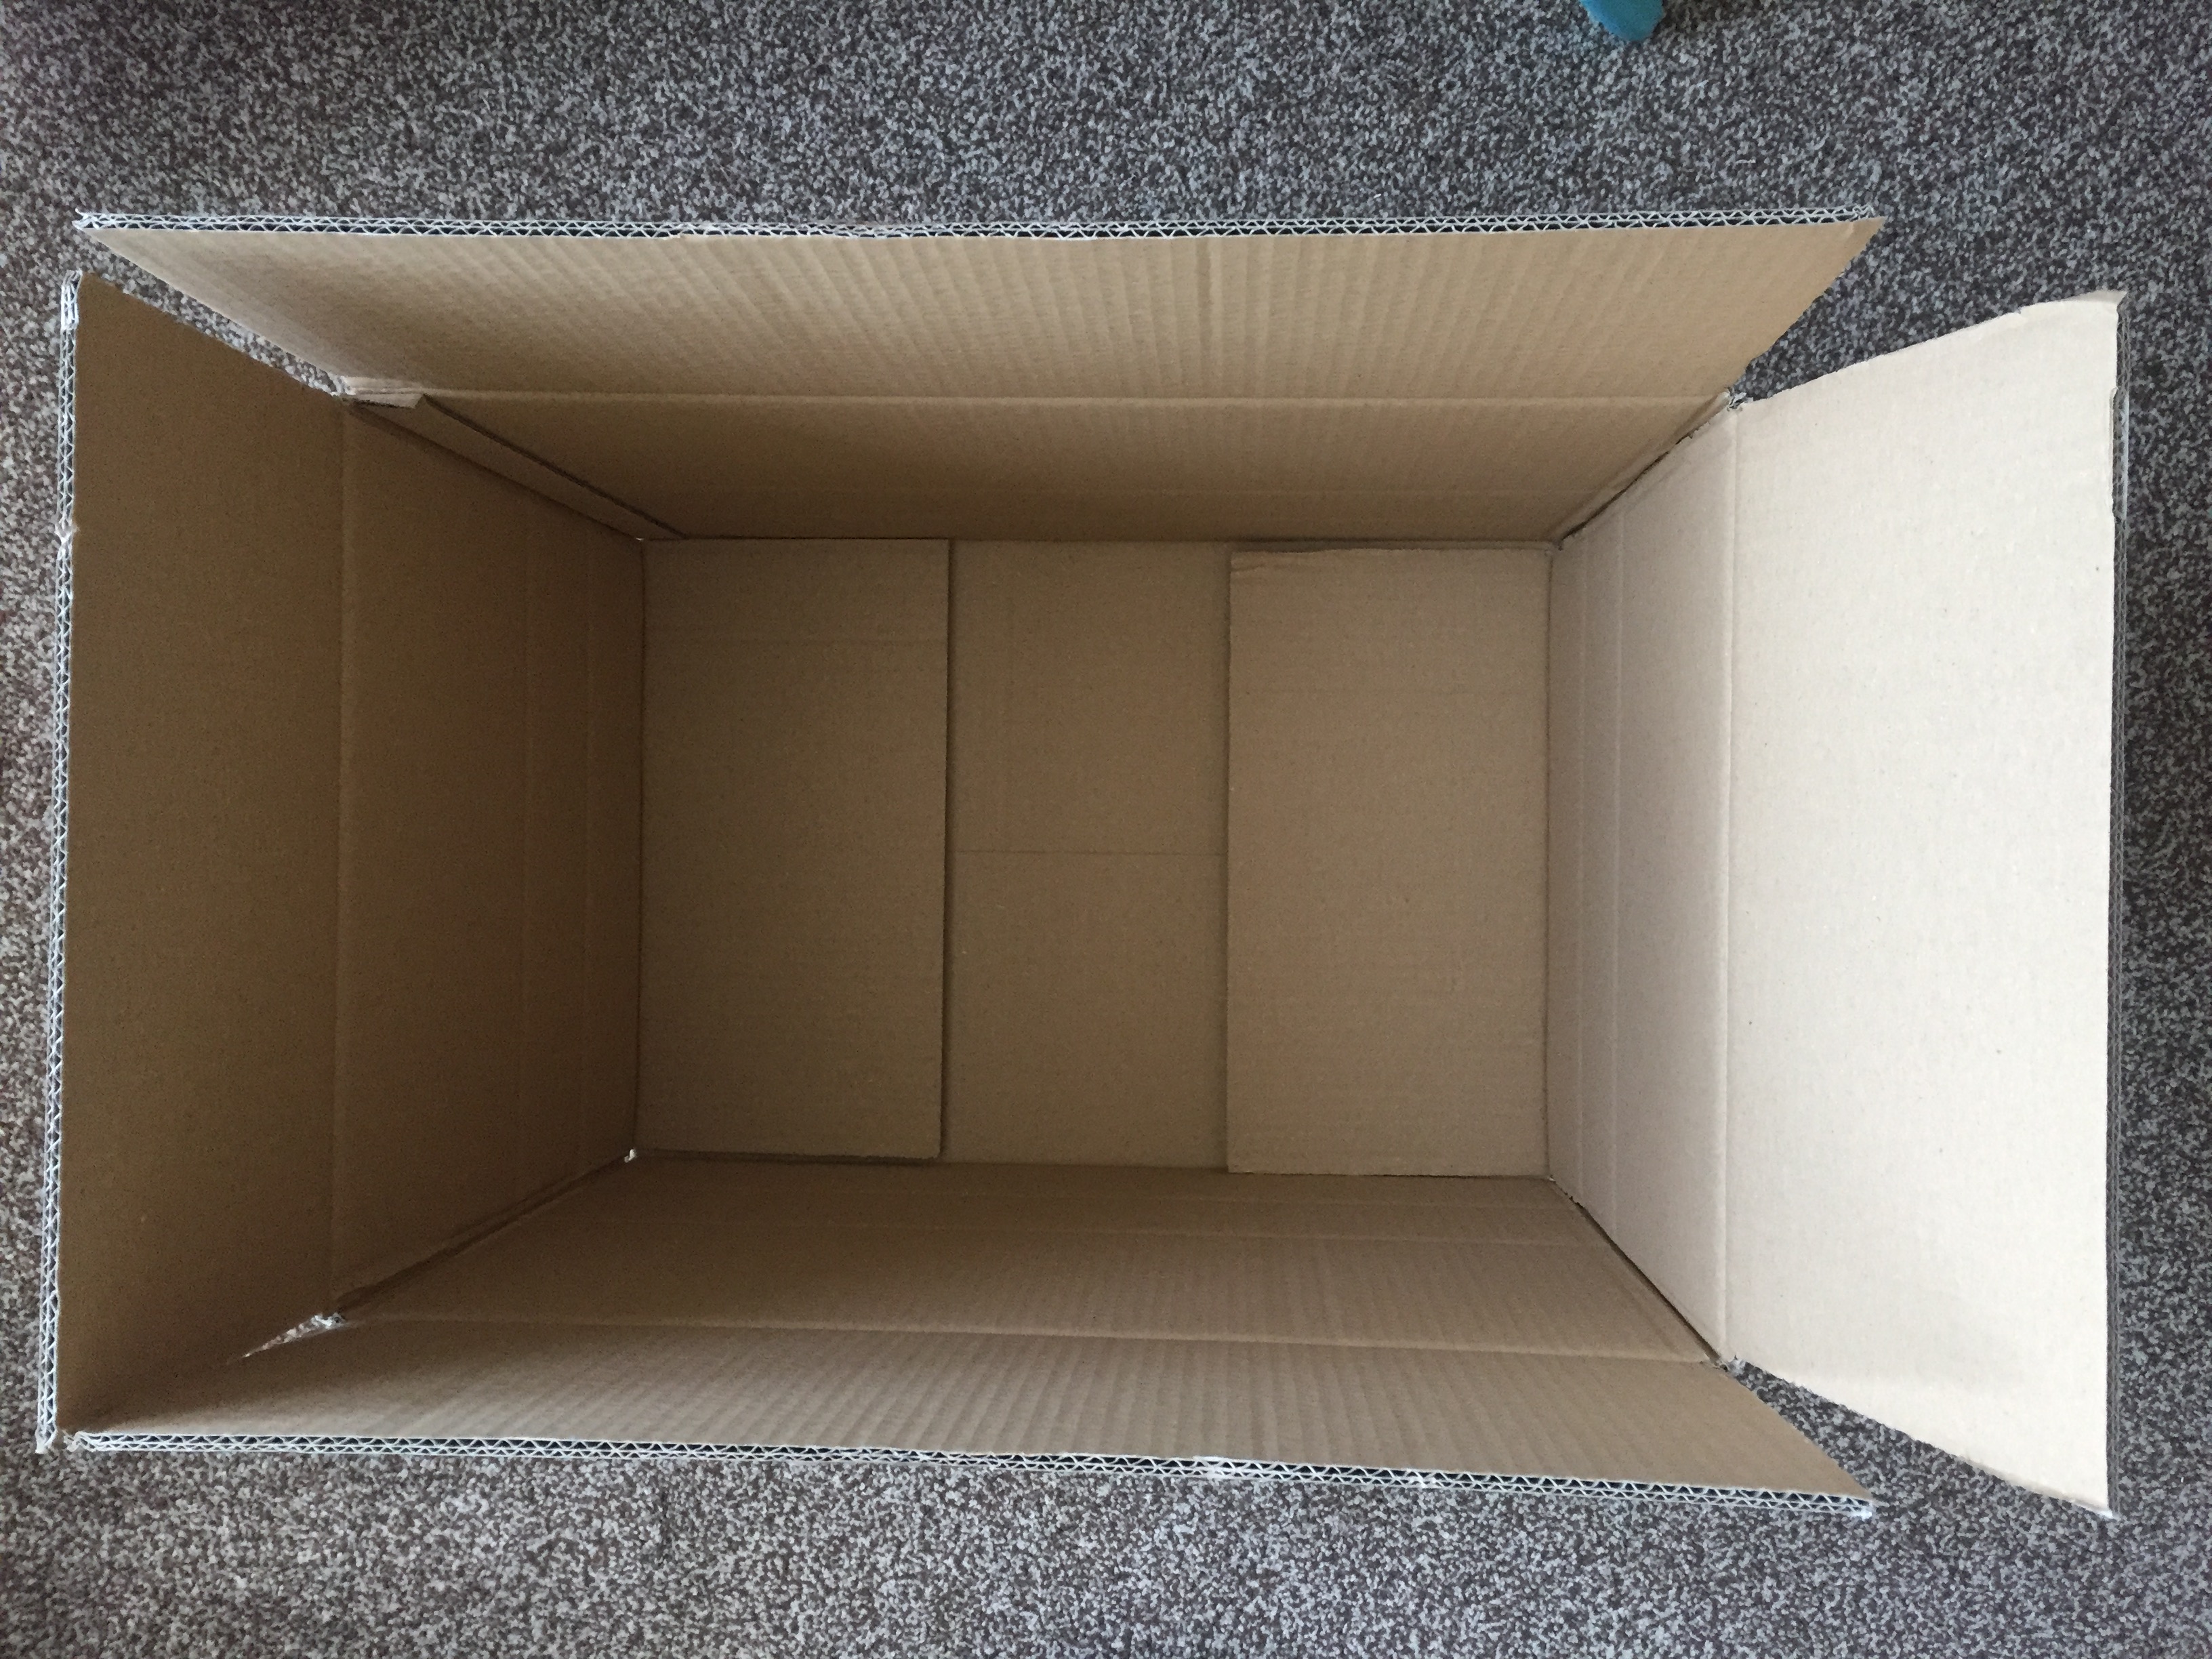
For this reason, I use double walled cardboard boxes (45.7 x 30.5 x 30.5 cm) and reinforce the bottom of the box with at least two layers of brown tape. I also tape the seams and edges because books are heavy in general.
Double walled cardboard boxes are sturdy and are also priced well. A set of 15 costs £15 and you can fit about 35 books in a box. That’s about £0.02 per book.
Grab a box and reinforce the seams and edges with at least two layers of brown tape, ready for to be filled.
Believe it or not, there are many ways you pack books — check out some of the techniques in this video.
Next, just start packing.
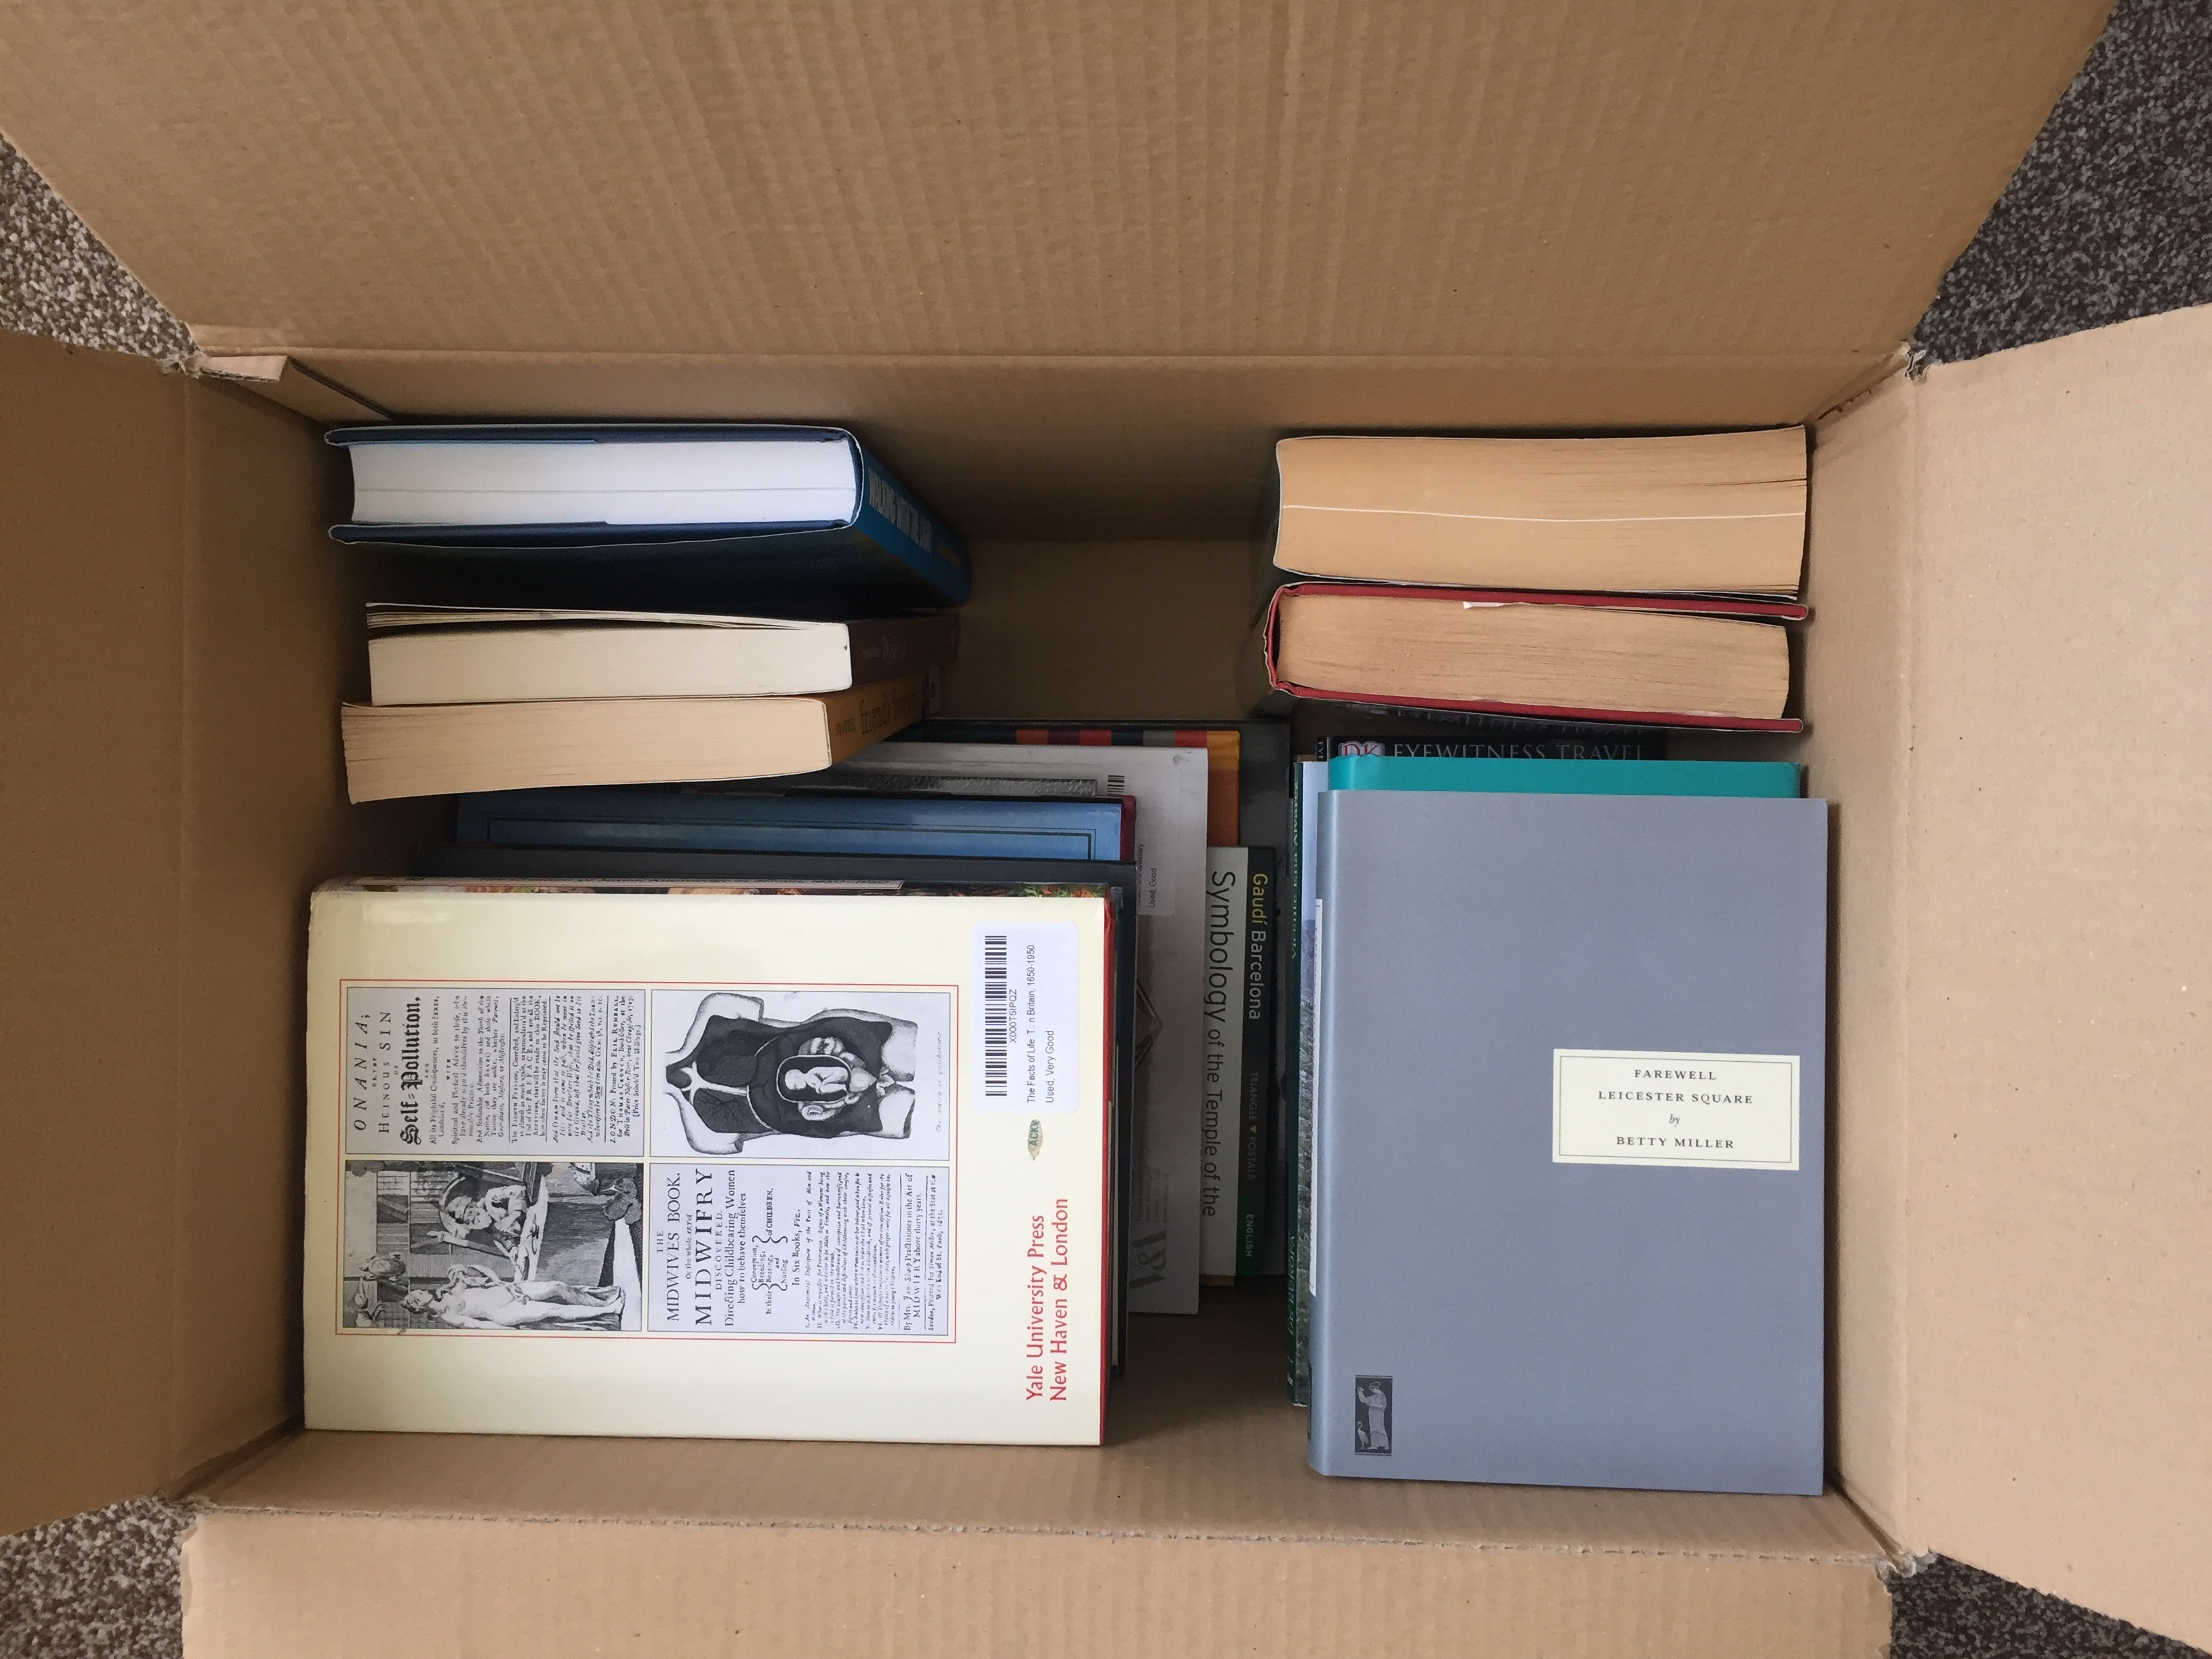
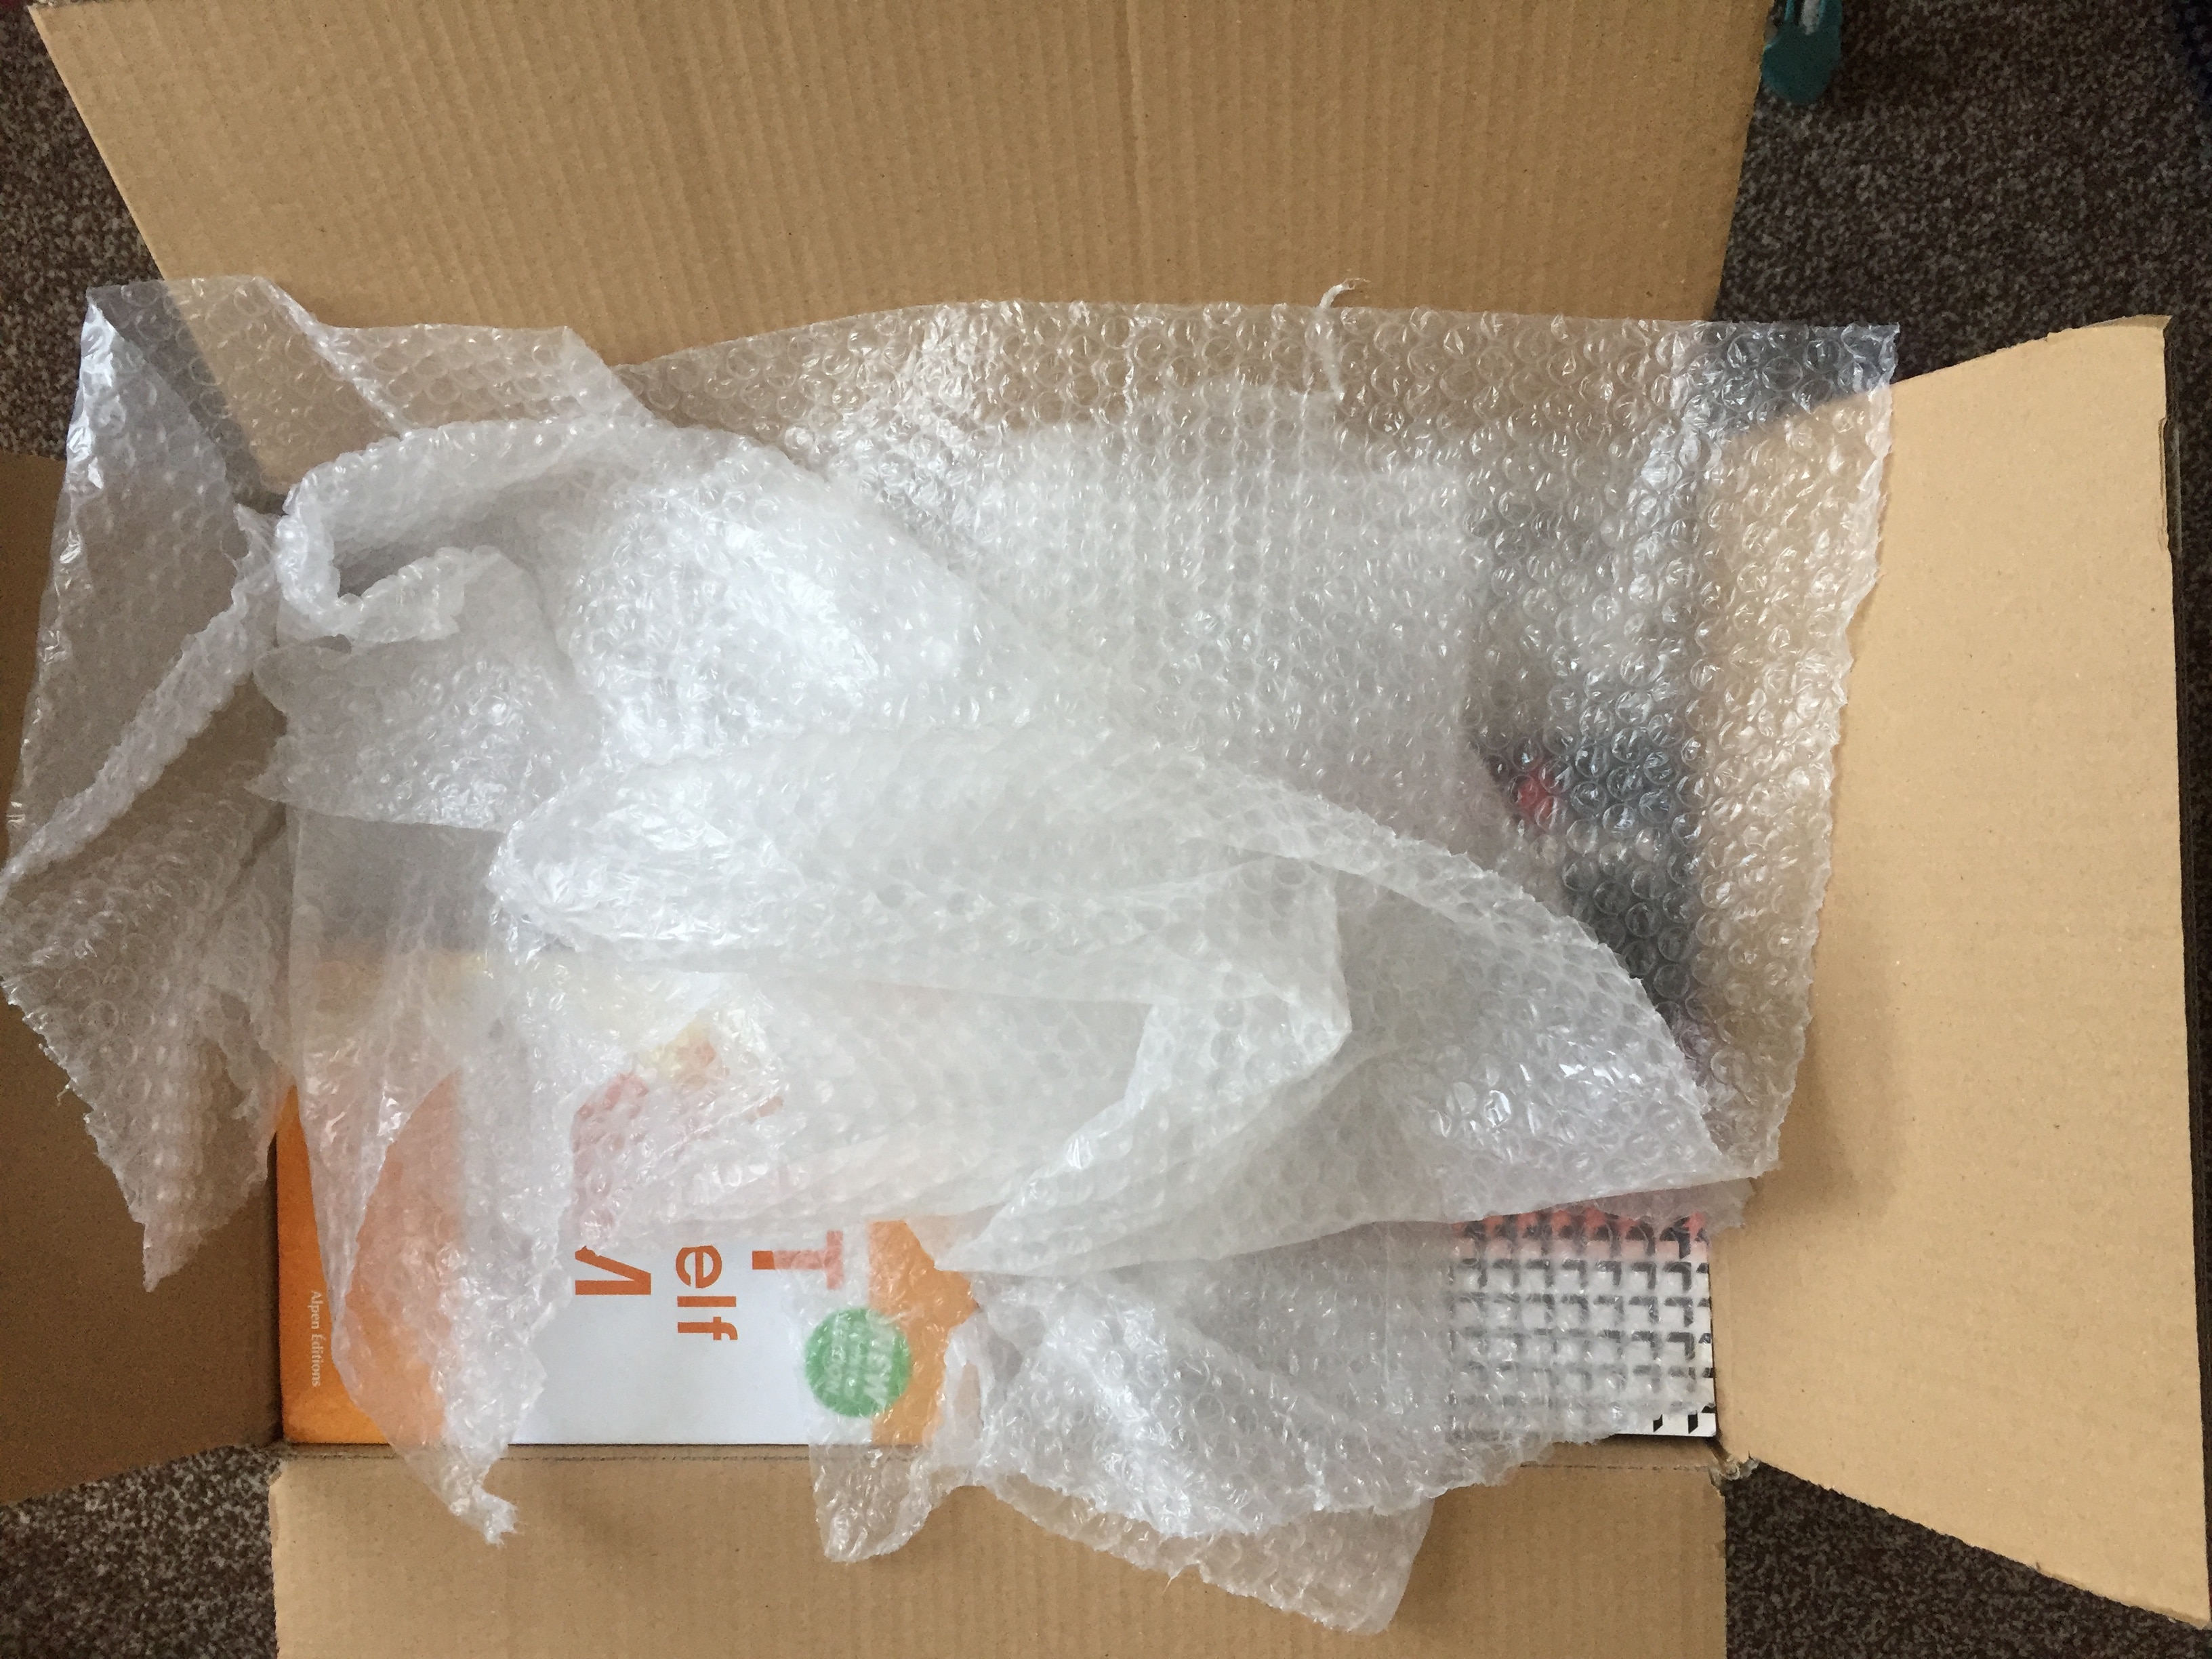
Then fill any space with bubble wrap or kraft paper.
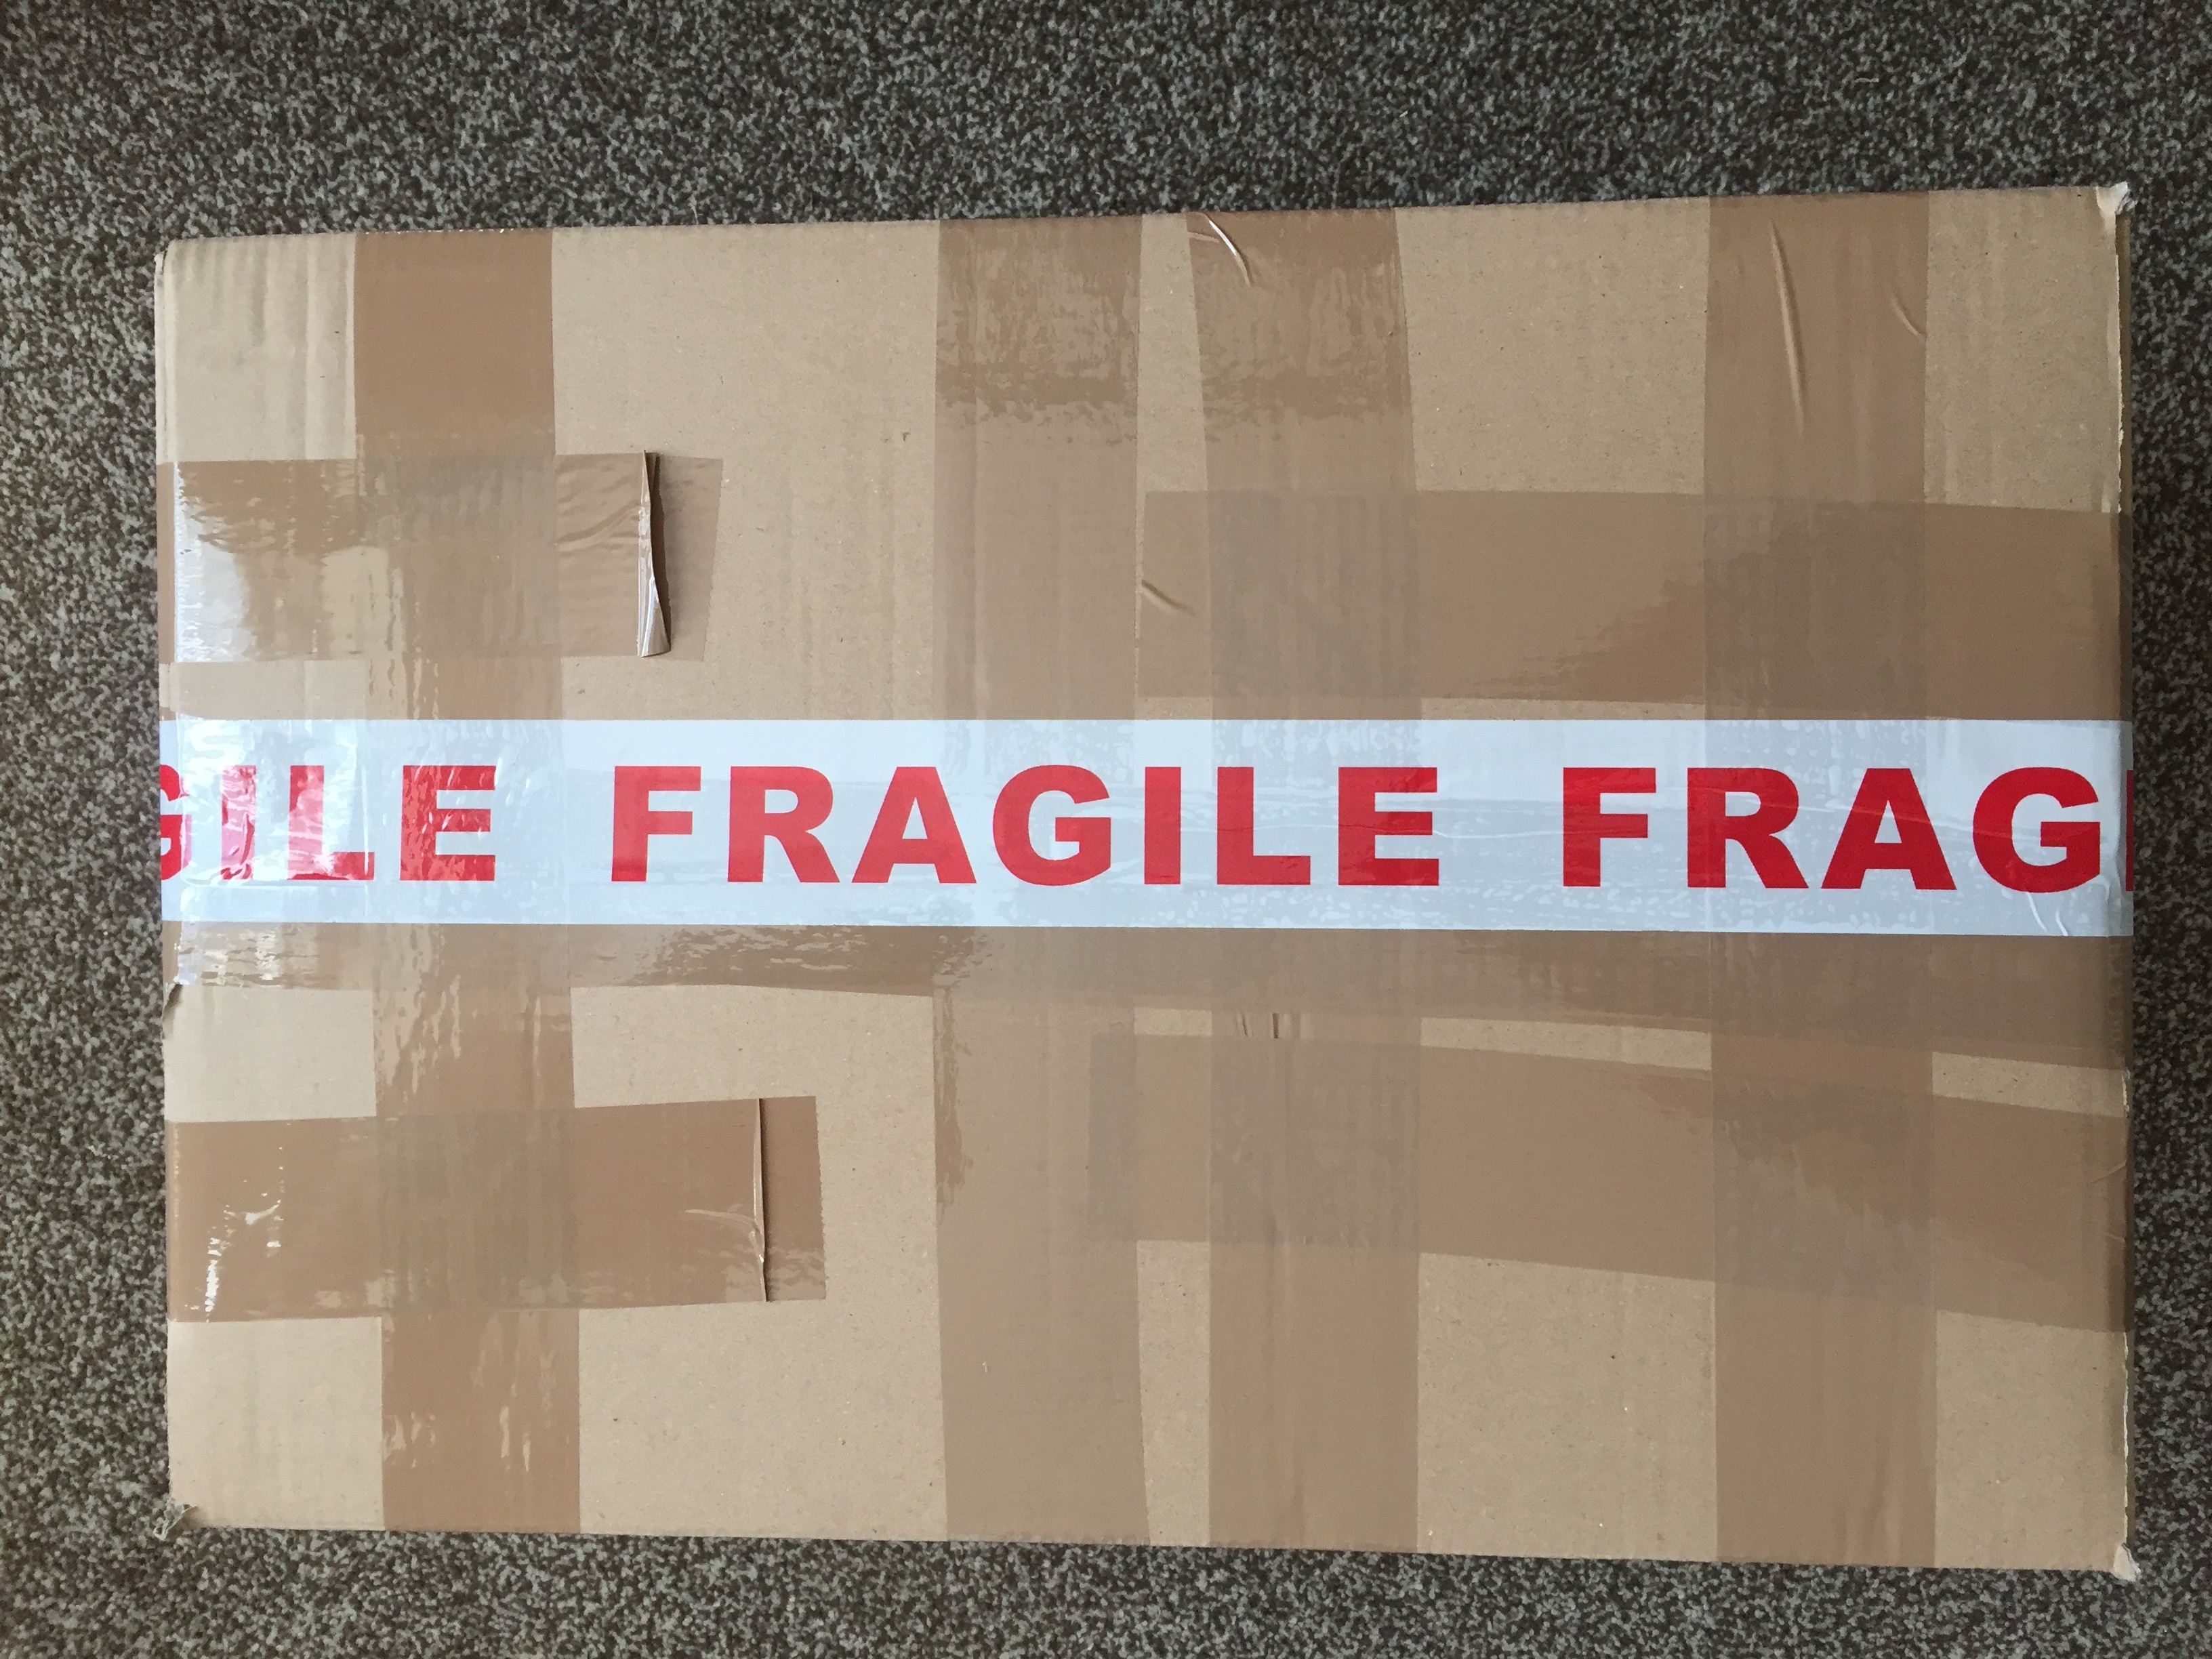
Once you’re done, reinforce the seams and edges with brown tape again to make the box nice and sturdy.
I also put on a layer of fragile tape to put off people from treating our shipments badly in transit.
Measure and weigh your box of books, and note these measurements down as you will need them later.
OK, now back to Seller Central.
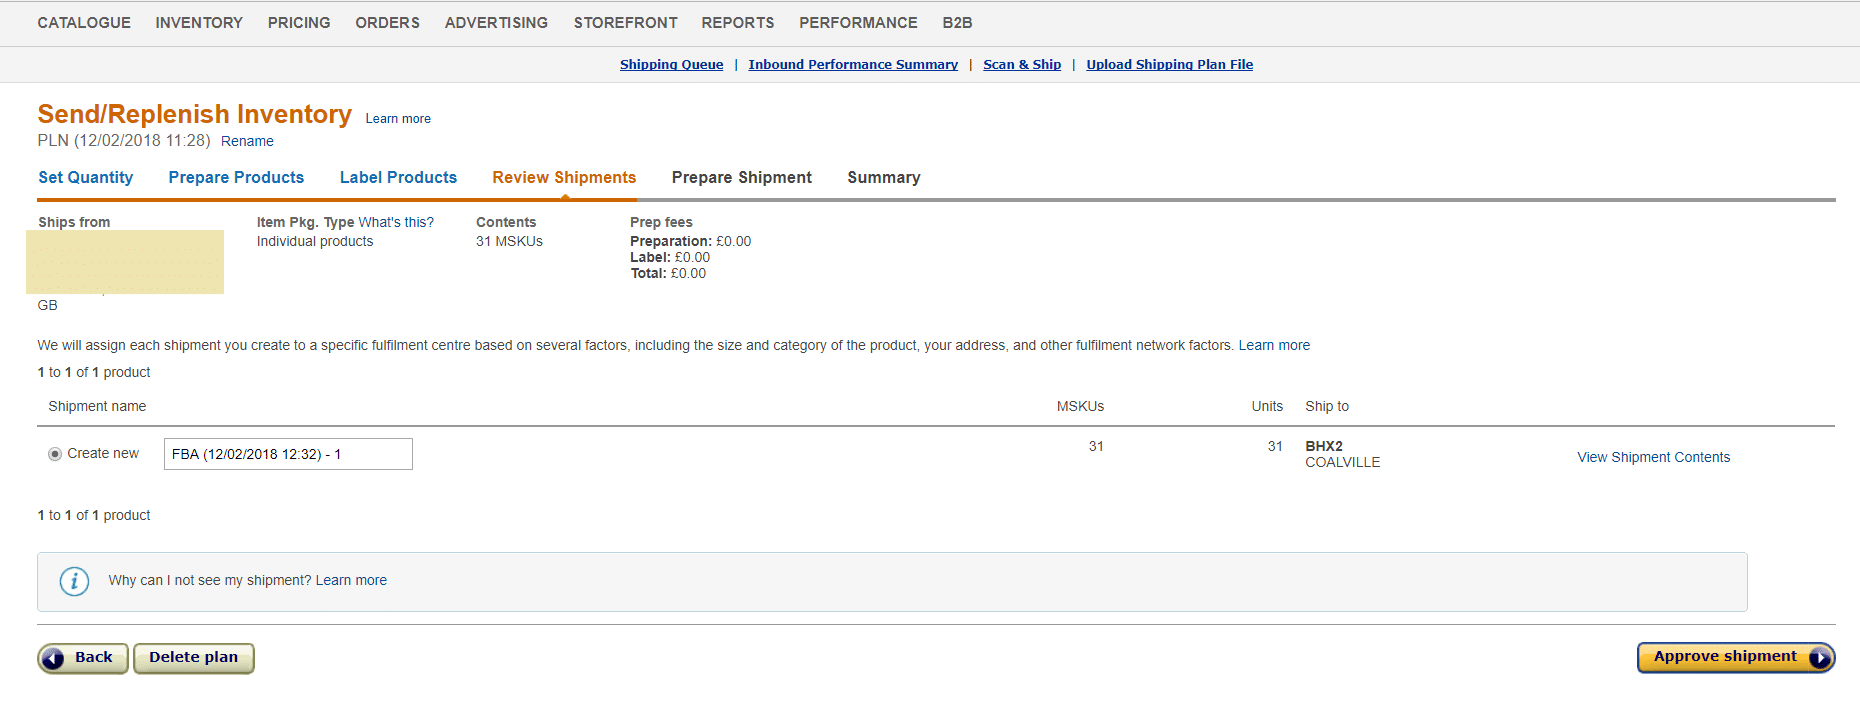
Click “Continue” from the last section to review your shipment.
As you can see this shipment is going to an Amazon fulfillment centre called Coalville, which I have no option but to send my shipment there.
Next, click the “Approve shipment” button if you’re happy.
Then click on “Work on shipment.”
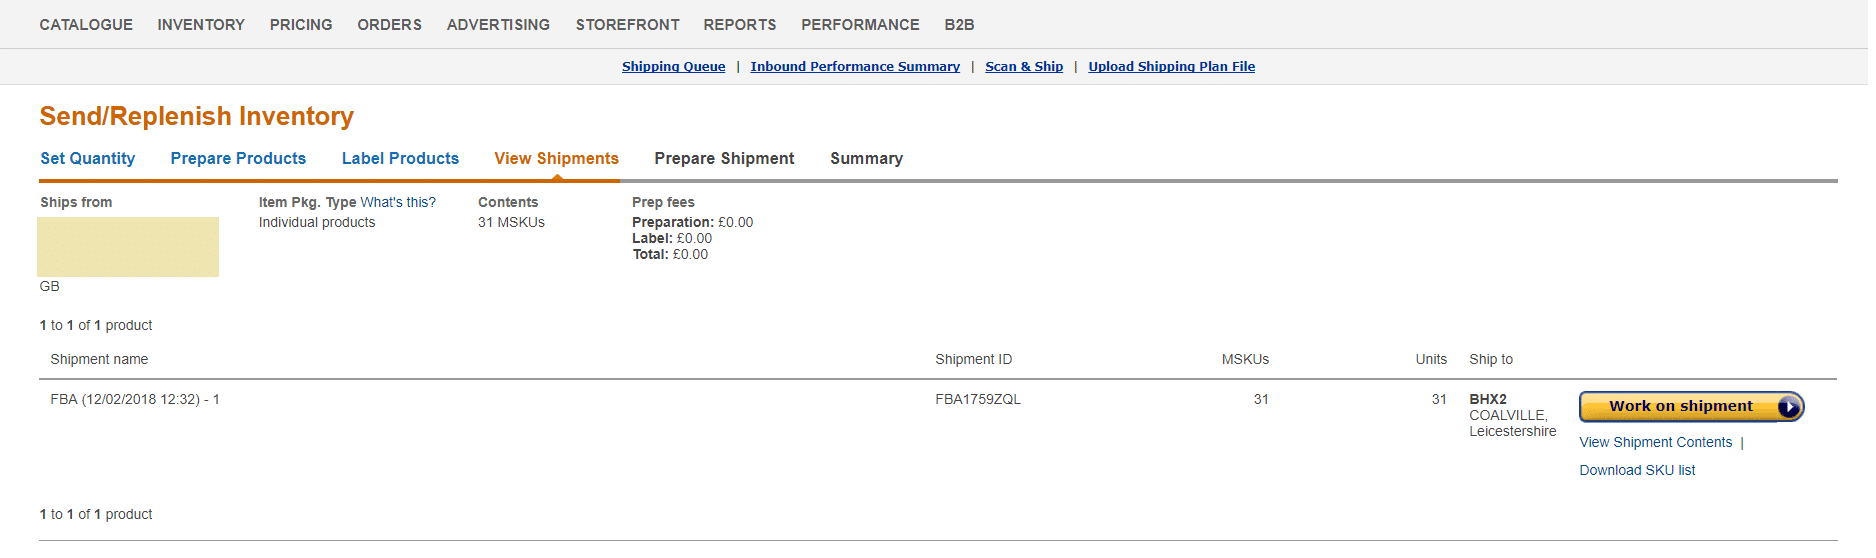
Now complete the process to calculate your inbound delivery cost (cost of shipping to Amazon) and access to required labels.
As you can see from the above video I downloaded the “Heavy Package” labels (for packages over 15 kg) and the box labels. Do the same.
Then print and stick the labels to your box of books with clear tape.
